Wigs have been used for centuries as a way to change one’s appearance, whether for fashion or necessity. From Marie Antoinette’s elaborate powdered wigs to the sleek and modern hairpieces of today, wigs remain a popular and versatile accessory. If you are interested in learning how to make a wig, read on for a step-by-step guide.
Materials Needed:
Hair (either synthetic or human hair)
Wig cap
T-pins
Wig stand
Needle and thread
Scissors
Hair glue or wig tape (optional)
Lace closure or frontal (optional)
Step 1: Choose Your Hair
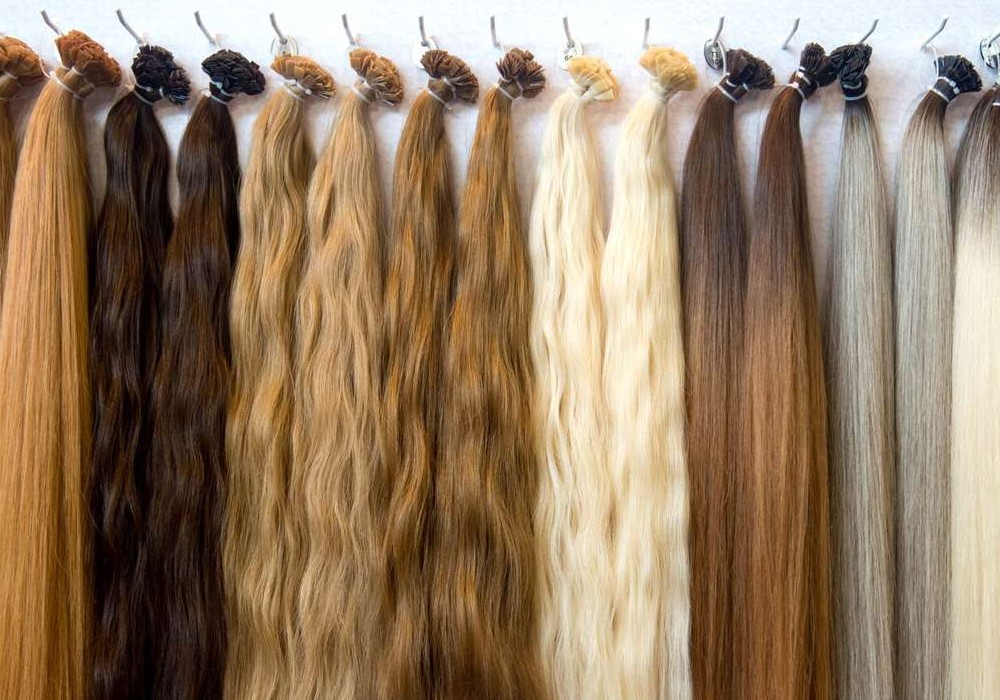
The first step in making a wig is selecting your hair. You can either use synthetic hair or human hair. Synthetic hair is more affordable but does not look as natural as human hair. Human hair, on the other hand, is more expensive but gives a more realistic look and can be styled with heat tools.
Step 2: Create Your Wig Cap
The wig cap is the foundation of your wig. You can purchase a pre-made wig cap or create your own by using a mesh dome cap or a stretchy stocking cap. Place the cap on a wig stand and secure it in place using T-pins.
Step 3: Measure and Cut the Hair
Measure the hair you have chosen for your wig against the wig cap to ensure you have enough hair for your desired style. Use scissors to cut the hair to the desired length. Remember to cut the hair slightly longer than your desired length to allow for trimming.

Step 4: Sew the Hair onto the Wig Cap
Starting at the nape of the wig cap, use a needle and thread to sew the hair onto the cap. Make sure to sew the hair tightly and securely onto the cap to prevent shedding. Continue sewing the hair onto the cap, following the natural direction of hair growth.
Step 5: Add a Lace Closure or Frontal (Optional)
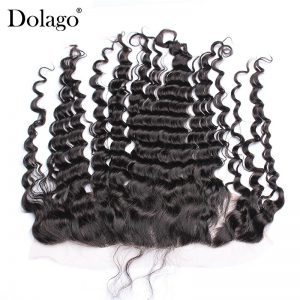
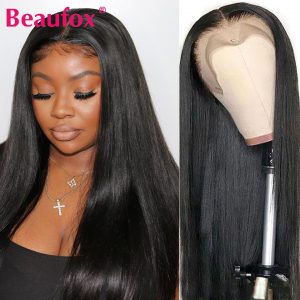
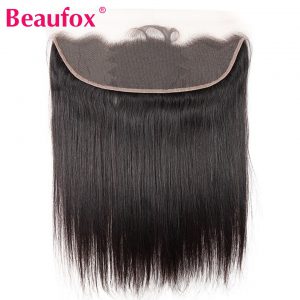
If you want a more natural-looking hairline, you can add a lace closure or frontal to your wig. A lace closure is a small piece of lace with hair attached that is sewn onto the wig cap to create a natural-looking part. A lace frontal is a larger piece of lace with hair attached that covers the entire front hairline. To add a lace closure or frontal, simply sew it onto the wig cap before adding the rest of the hair.
Step 6: Style and Trim the Hair
Once all the hair is sewn onto the wig cap, it is time to style and trim the hair to your desired length and shape. Use heat styling tools if using human hair to create curls, waves or straighten the hair. Trim the hair using scissors to create the desired shape and length.
Step 7: Apply the Wig
To apply the wig, put your natural hair into a wig cap or braid it close to your scalp. Place the wig on your head and adjust the wig to fit comfortably. Use hair glue or wig tape to secure the wig in place if needed.
Congratulations, you have made your own wig! With a little practice, you can create wigs in different styles and colors to suit your mood and occasion. Making a wig can be a fun and rewarding hobby, or even a business if you decide to sell your creations. With the right materials and techniques, anyone can learn how to make a wig.